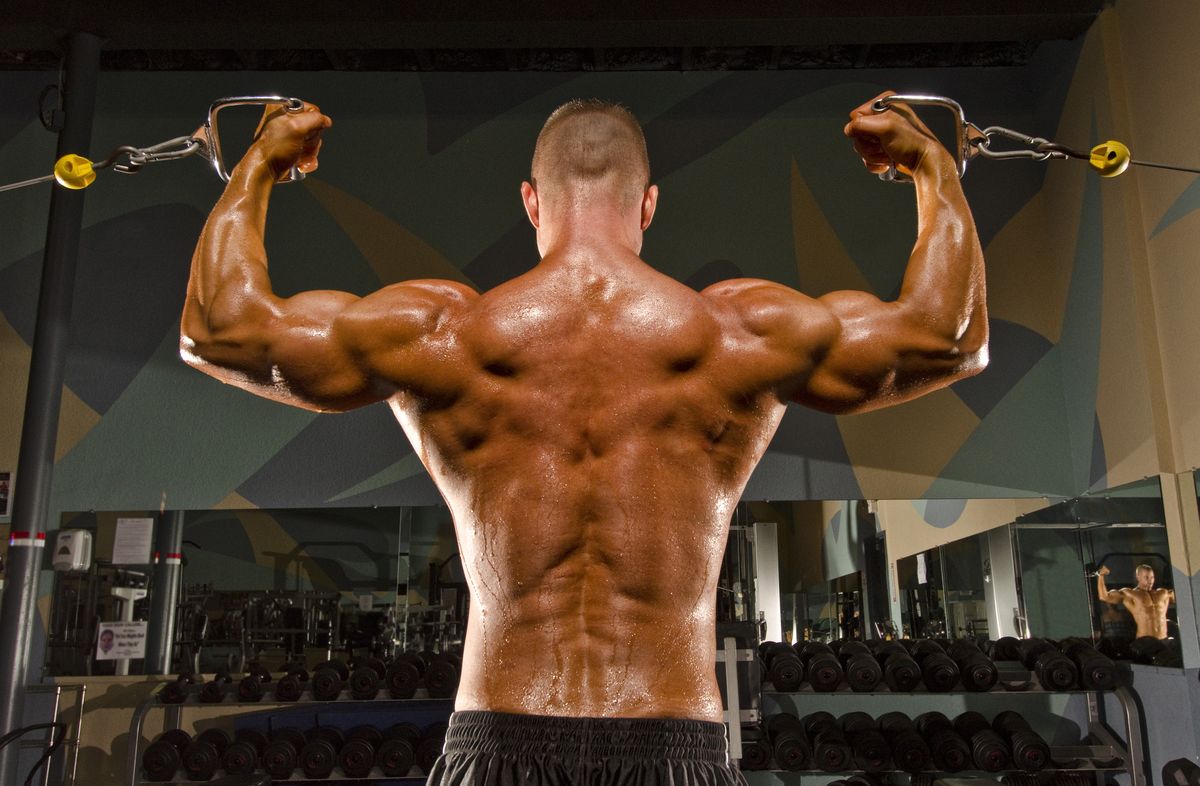
WHEN IT COMES to choosing the workout plan you're going to follow, efficiency should be one of your top objectives. Yes, the exact nature of your split will ultimately depend on what you're trying to accomplish—whether that's eye-popping arm muscles, a deadlift PR, or improving your strength and conditioning for rec league soccer—but working smart will make your desired result that much easier to achieve.
If building a muscular, well-balanced physique is your goal, one of the best ways to train efficiently is to design a workout that allows you to target multiple muscle groups together. One common pairing is the back and biceps, since the way you use your biceps (flexing your elbows) is often involved with the way that you use your back muscles (pulling movements).
You can do this with a pull-push-legs structure for your back and biceps workout to accomplish the goal of building a set of big, strong arms and a rock-solid back. That said, you won't only concentrate on those two muscle groups while neglecting everything else; it's important that whatever program you follow has some sense of balance, both for the good of your physique and function. This will be a slight tweak on a favorite setup for lots of smart exercisers, the push-pull-legs split.
What exactly does that mean? Simple. On the first day of the training week, your session will be built up of exercises that use pull movements (like a row). Day 2 is centered around exercises where you push (like a press). You wrap the week by hitting the lower body with exercises that target your leg muscles.
The Benefits of a Back and Biceps Workout in a Pull-Push-Legs Structure
The shift of the position of the pull and push days isn't a random choice, or just to give the pull prime position for no reason. "The benefit of going pull-push-legs vs. classic PPL comes in physique balance and shoulder health and long-term safety," says Men's Health fitness director Ebenezer Samuel, C.S.C.S. This is because you'll be at your strongest on the first day of a training split, since your CNS should be rested. Samuel notes that if you're training hard, even if you don't feel tired, you won't be as strong on the second day of a training split due to this type of fatigue.
That does mean that you'll give up some ground on Day 2—but according to Samuel that's okay, especially since you're particularly focused on your back and bis. "By training pull on Day 1 and push on Day 2, you may ever-so-slightly deflate your pushing numbers, but that’s not necessarily a bad thing," he says. "Pulling more than you can push is a key for shoulder health (especially given how often everyday life puts us in pushing positions), and it’s key for visual physique balance too, insuring you don’t under train your mid-back."
You can run through this as a thrice-a-week training split. The structure looks like this: train one day, then rest a day between each session. That has you hitting back and bis once per week (you're working on the "pull" day). You can also implement this plan as a six-day-per-week split where you run through the pull-push-legs cycle twice (then rest from training for at least one day).
Samuel designed a sample session for both beginners and more advanced lifters.
The Back and Biceps Workout Split for Beginners
Ease into this type of split if you're just starting out in the weight room. This example template features three exercises per workout, broken down to two movements that target the back and one for the biceps.
This routine should look like this:
First Exercise: Standard Horizontal Row Variation
Eb says: Starting with a horizontal row does two things. First off, it kickstarts your shoulder blades to move through what’s called scapular retraction, which is a key mechanic for shoulder health in most upper body exercises. Because life frequently places us in pushing positions, it can dull our sense of that movement.e can regain it by starting with a row. Horizontal rows will also blast your mid-back—and your back is more than your lats. Mid-back strength is key for shoulder health and aesthetic balance.
Examples: Dumbbell Row, Chest-Supported Incline Row, Bent-Over Barbell Row
Sets and Reps: 3 sets of 8 to 10 reps
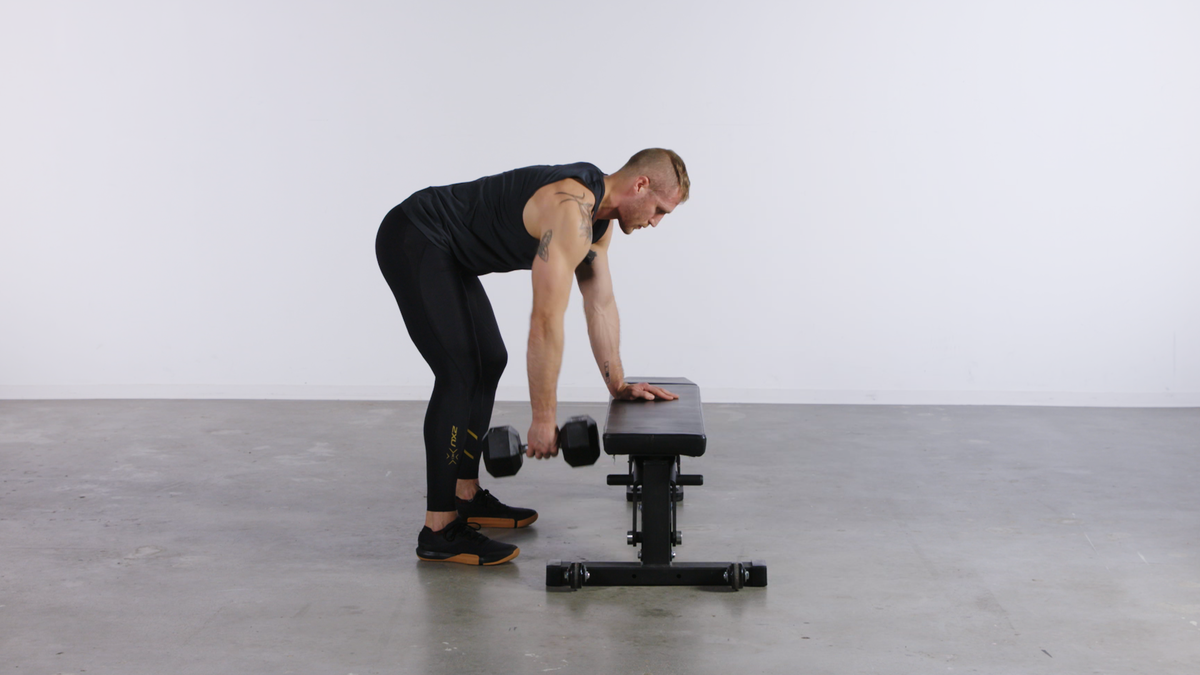
Dumbbell Row
How to Do It:
- Stand with your feet shoulder width apart in front of a flat bench. Push your butt back and lower your torso down, extending your off arm to rest your palm on the bench.
- Grab the dumbbell with your working hand. Squeeze your glutes and abs to create full-body tension, keeping your head in a neutral position.
- Squeeze your mid-back muscles to drive your elbow up, rowing the weight. Keep your shoulders level and avoid rotating your lower back.
- Pause for a beat, then lower the weight back down.
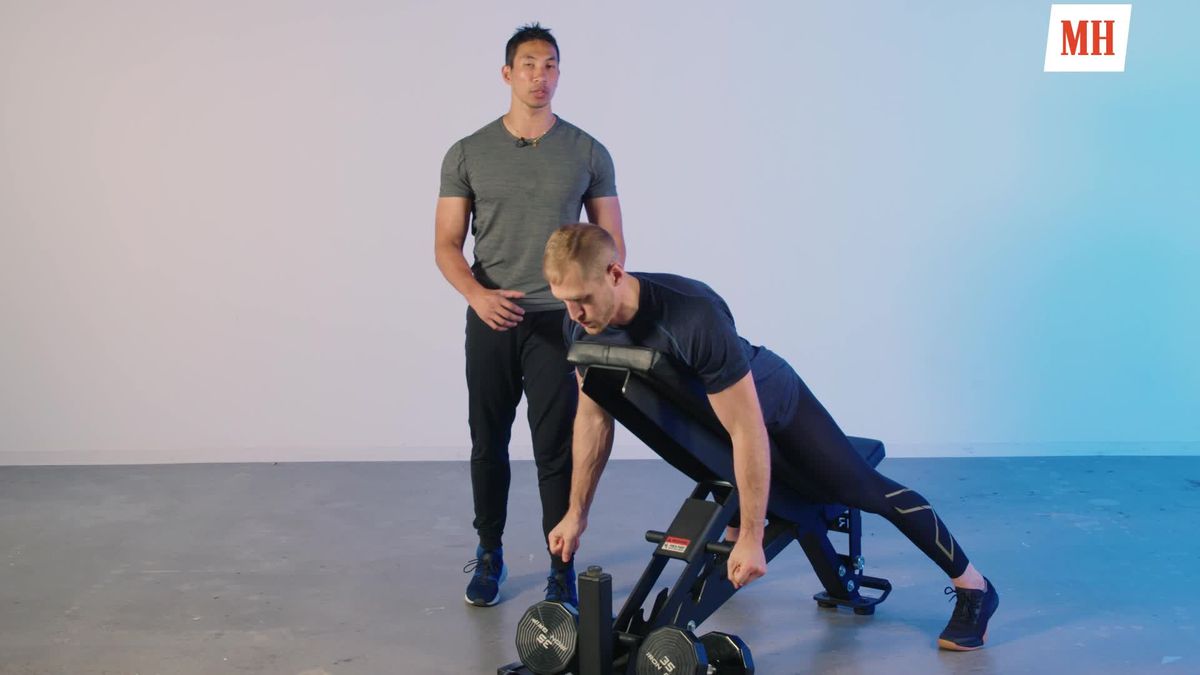
Chest-Supported Incline Row
How to Do It:
- Set an adjustable bench to a 45-degree angle. Get onto the bench with your chest on the pad, but squeeze your glutes and mid-back as if you were standing.
- Grab the dumbbells with both hands. Think of your arms as hooks. Squeeze your mid-back and drive your upper arm and elbows backto row the weight up. Keep your chest flat on the bench.
- Control the weight back down to the starting position.
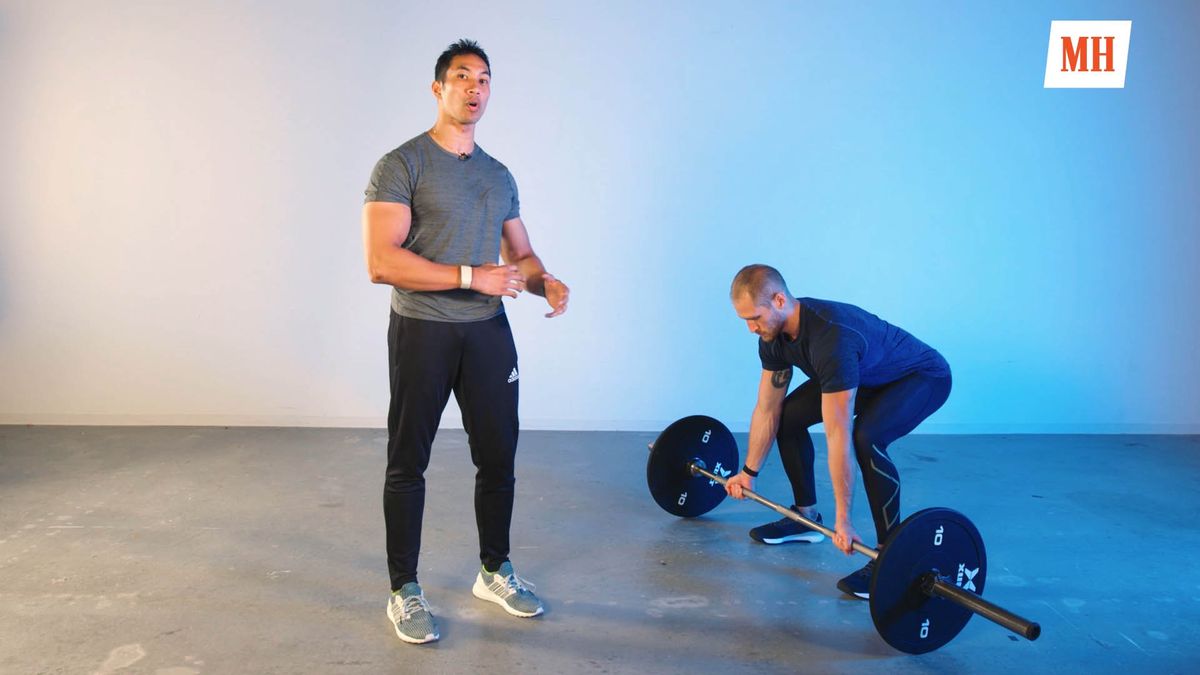
Bent-Over Barbell Row
How to Do It:
- Approach a loaded barbell as you would for a deadlift: stand with your feet about hip-width apart, then push your butt back and hinge at the hips to bend over and grasp the bar.
- Take an underhand grip when you grasp the bar. This will allow you to involve your biceps more in the pulling movement and help to prevent an internally-rotated position.
- Keep your head in a neutral position, squeeze your glutes and core to create tension, and raise your torso slightly to lift the weight off the floor.
- Move at the elbow and shoulder to row the bar to the top of your ribcage. Aim to 'break' the bar against your chest, pausing in the top position if you can.
- Control the weight back down to the starting position, maintaining your posture.
Second Exercise: Standard Vertical Pull Variation
Eb says: Your vertical pull variation will very often be the key motion that attacks your latissimus dorsi, the large, broad back muscle that runs from shoulder down very nearly to your hip. It functions in part to pull the upper arms down toward your hips, which happens on nearly all vertical pull motions. If you have shoulder trouble, do another row variation instead.
Examples: Chinup/Pullup or Pulldown with Neutral Grip
Sets and Reps: 3 sets of 8 to 10 reps
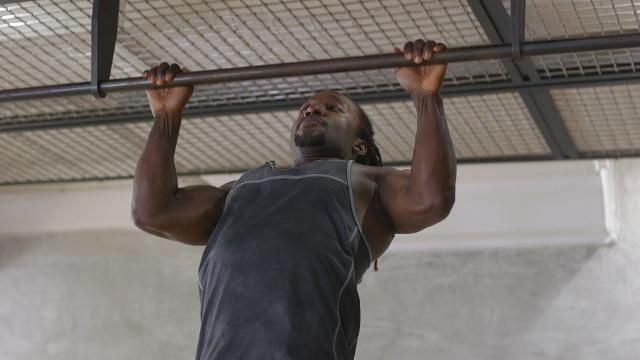
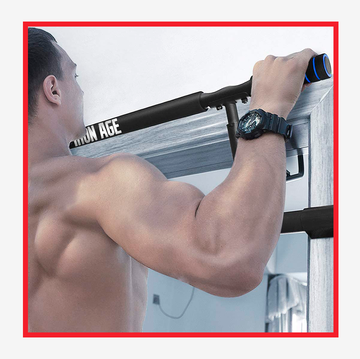
Chinup/Pullup
How to Do It:
- Grip the bar overhead tightly, either with an overhand grip (pullup) or underhand grip (chinup). The chinup will promote greater biceps involvement. Don't jump up to the bar; if you're not tall enough to reach, use a platform.
- Engage your upper back, core, and glutes to create tension, almost like a hanging plank.
- Pull yourself up and to the bar, lifting your head above it.
- Lower back down with control until your arms are fully extended.
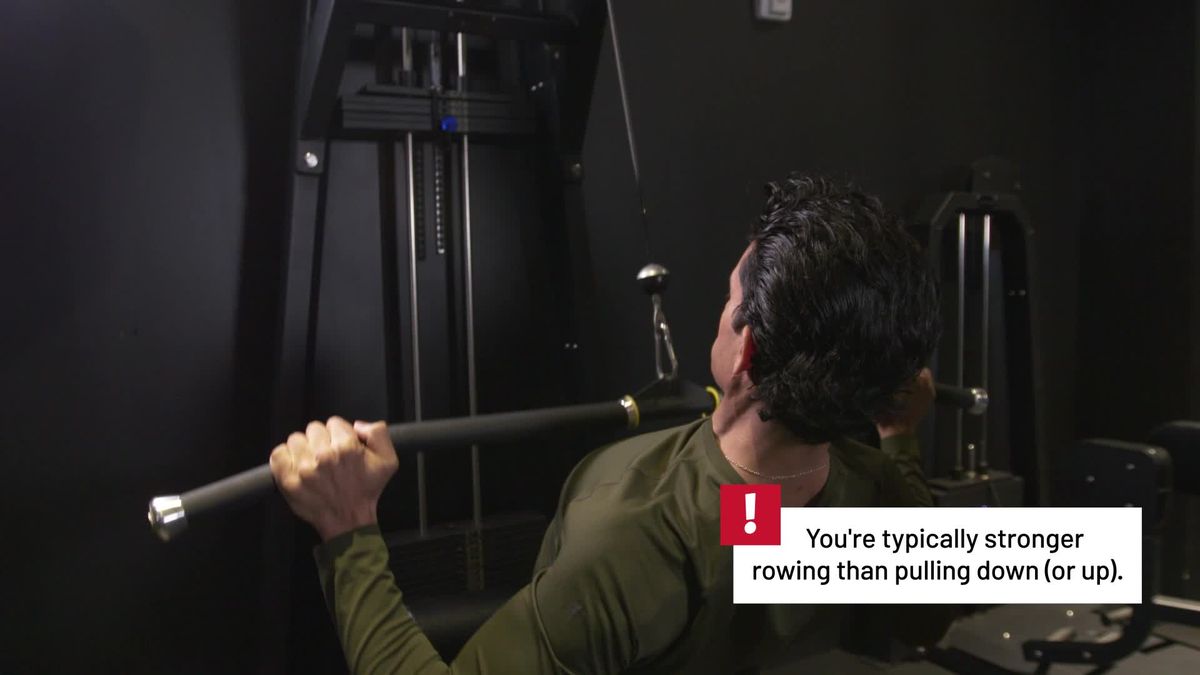
Pulldown with Neutral Grip
How to Do It:
- Set the machine's seat at a comfortable height. Grab the handle, using a neutral grip on the V-handle.
- Focus on keeping your feet planted into the ground, core tight, and maintain a tight grip on the bar.
- Lean back slightly—do not arch your back for this—then, squeezing your shoulder blades, drive them down as you pull. Remember to drive your elbows down as well as you pull the bar to the top of your chest.
- Hold momentarily at the bottom, then return to start position under control.
Third Exercise: Standard Curl Variation
Eb says: Your biceps assist on each of those first two movements, so they’ve already been lightly taxed by the time you get here. You won’t move the same heavy loads you did on the first two exercises, but you’ll focus only on elbow flexion, one of the biceps’ two key functions.
Examples: Dumbbell Curl, Barbell Curl
Sets and Reps: 3 sets of 12 to 15 reps
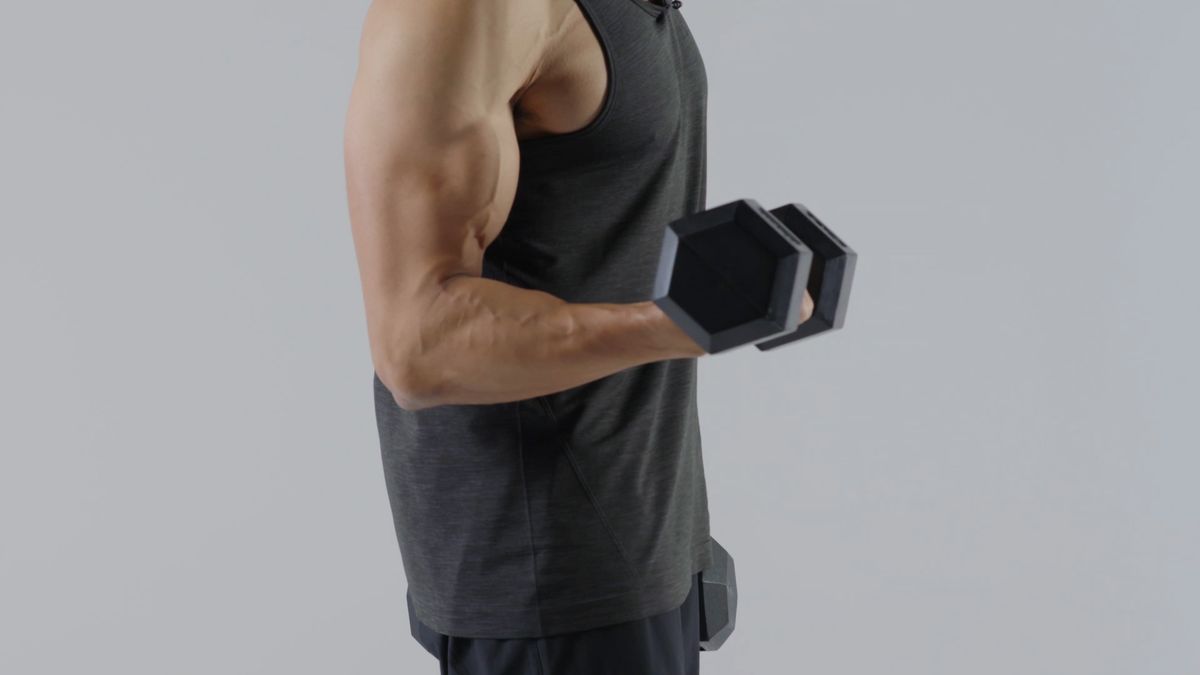
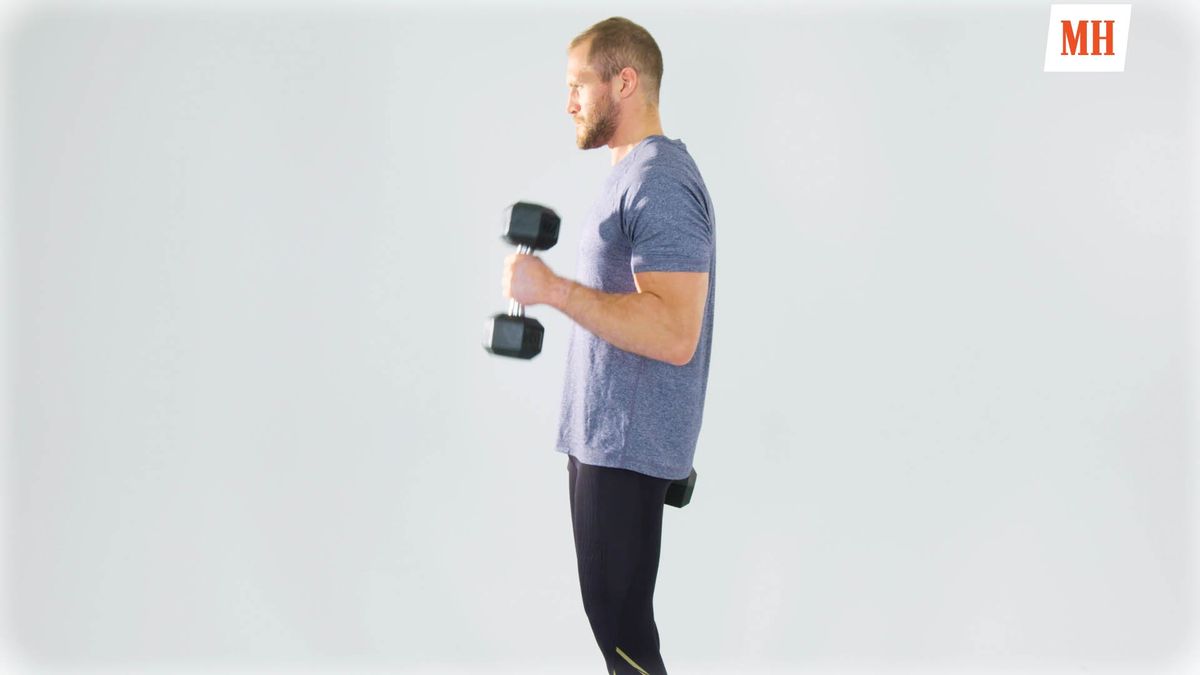
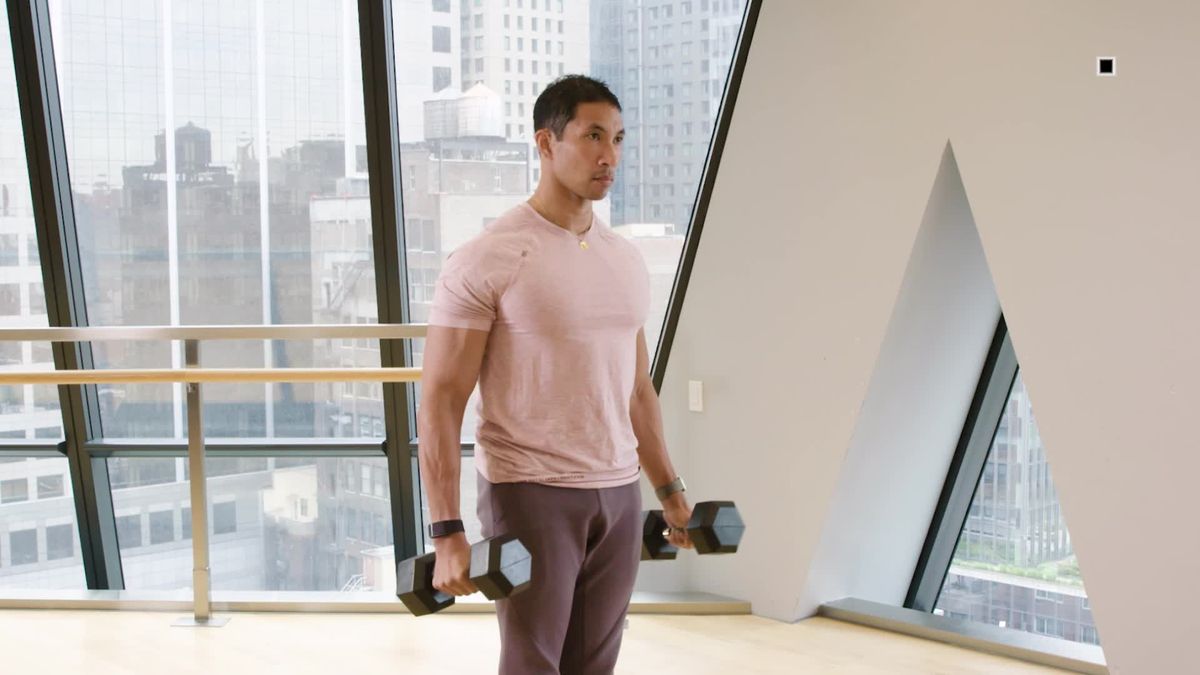
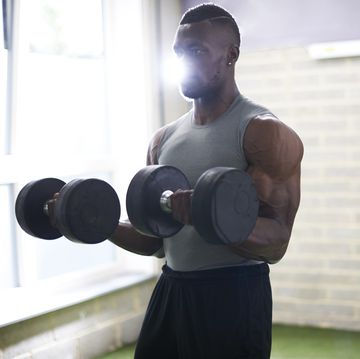
Dumbbell Curl
How to Do It:
- Stand holding a pair of dumbbells in each hand in a neutral grip.
- Squeeze your shoulder blades, abs, and glutes to create full-body tension.
- Moving only at the elbows, raise the weight up. Turn your wrist so that the dumbbell faces the ceiling (supination), emphasizing the biceps squeeze as you raise the weight to the top position.
- Lower the weight back down to the starting position with control.
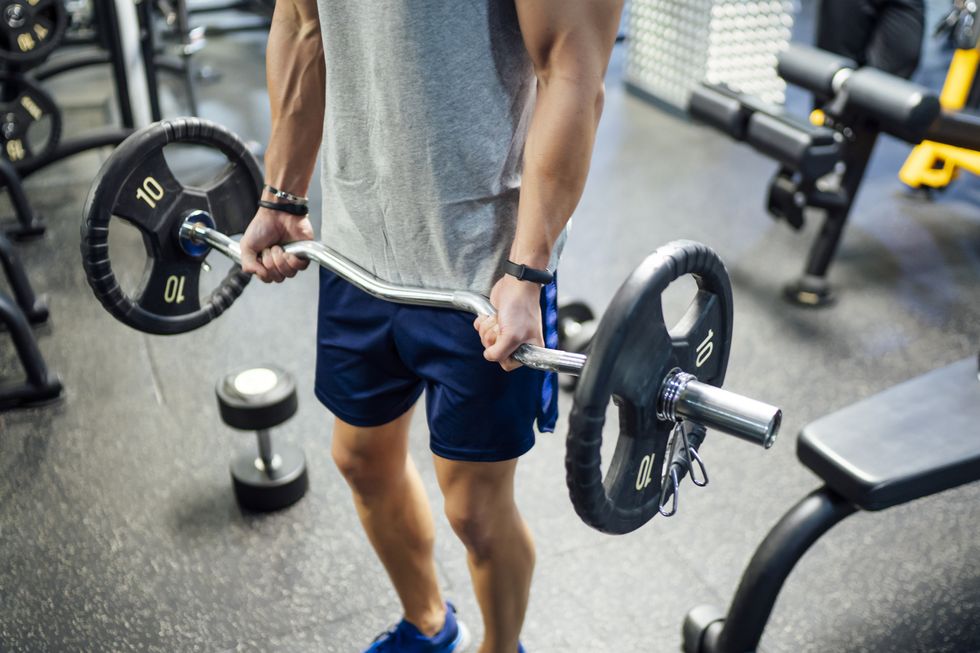
Barbell Curl
How to Do It:
- Stand with your feet about shoulder-width apart, holding the bar in and underhand grip with your hands at shoulder-width.
- Squeeze your glutes, abs, and shoulder blades. Keep your torso tight. Curl the weight up, moving only at the elbows.
- Emphasize your biceps squeeze at the top for a split second, then lower the weight back down.
The Advanced Back and Biceps Workout Split
If you're more advanced, Samuel says that you can build out a routine that's composed of six or seven exercises total: three to four moves targeting the back muscles, two hitting the biceps, and one finishing move if you're feeling spicy.
Here's a more detailed breakdown of what this type of routine should look like:
First Exercise: Standard Horizontal Variation with Loading Potential
Eb says: Once again, you want to kickstart scapular retraction and groove that pattern before moving onto anything else. If you’re an advanced lifter, too, you also want to make sure you’re doing a row variation that can allow you to move big weights, so you can get the strength-building stimulus that comes with lifting heavier loads.
Examples: Landmine Row, Dumbbell Row, Bent-Over Barbell Row
Sets and Reps: 3 to 4 sets of 8 to 10 reps
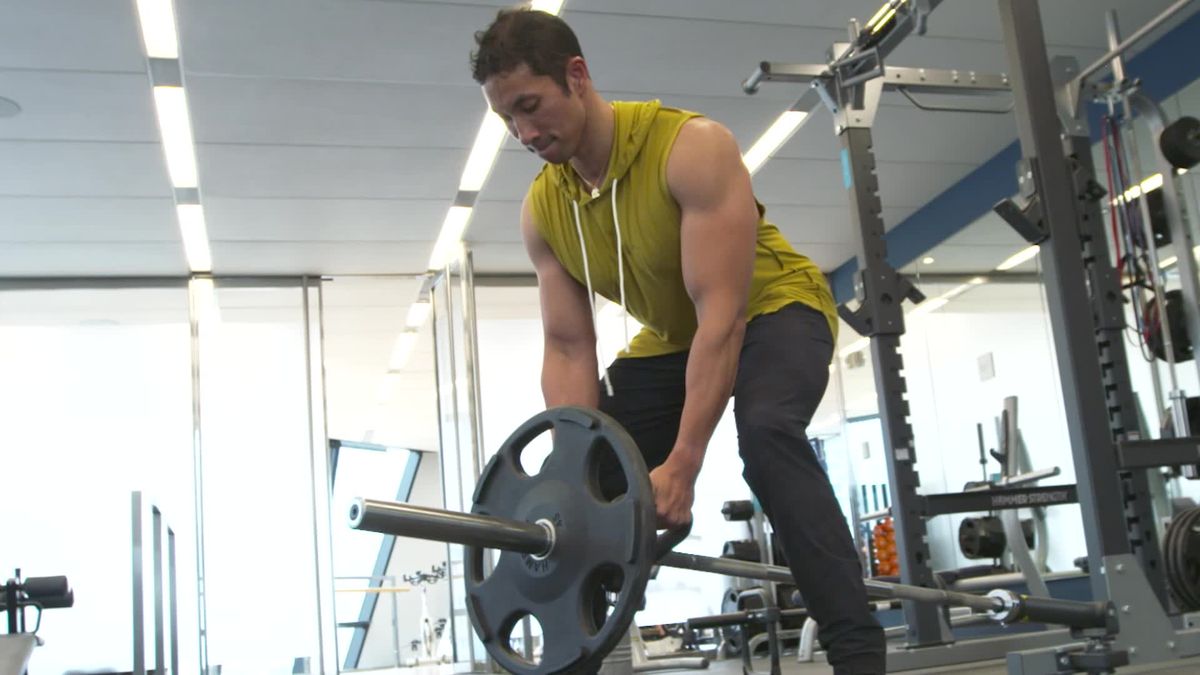
Landmine Row
How to Do It:
- Set up a barbell in a landmine attachment, in the corner of a rack, or wrap one sleeve in a towel and put it in the corner of the room. You'll need either a close-grip machine row handle, towel, or some other means to grip placed at the other end of the barbell, just below the sleeve.
- Hold the grip, push your butt back, and hinge at the waist. Engage your abs and squeeze your glutes to keep your torso as still as possible.
- Squeeze your back to row the weight to your chest. Pause for a beat at the top, emphasizing the squeeze.
- Lower the weight back down to the starting position under control.
Dumbbell Row
How to Do It:
- Use the cues listed above in the beginner section. Since you're more advanced, work to control the weight without any additional momentum, coming to a complete pause between reps.
Bent-Over Barbell Row
How to Do It:
- Use the cues listed above. To work with heavier loads, consider implementing a dead stop, resting the weight on the floor between each rep.
Second Exercise: Standard Vertical Pull Variation
Eb says: Once your scapular retractors are fired up, you again can focus more on your lats with your vertical pull variation. If shoulder trouble prevents you from these types of movements, try another row instead.
Examples: Chinup/Pullup, Pulldown
Sets and Reps: 3 to 4 sets of 8 to 10 reps
Chinup/Pullup
How to Do It:
- Use the cues listed above. If you're not feeling challenged, consider adding more load using a weight vest or some other tool.
Pulldown
How to Do It:
- Use the cues listed above.
Third Exercise: Angle-Change Row Movement
Eb says: Your back has multiple smaller muscle groups. To some extent, you train these with the first row variation in this workout. But by consciously changing the angle of your torso (as you do with incline rows or gorilla kettlebell rows), so you’re slightly more upright, you can zone in those smaller muscle groups for more complete back development.
Examples: Incline Row, Gorilla Row
Sets and Reps: 2 to 3 sets
Chest-Supported Incline Row
How to Do It:
- Use the cues listed above. If you're looking to work with heavier loads, consider swapping the dumbbells for an EZ bar.
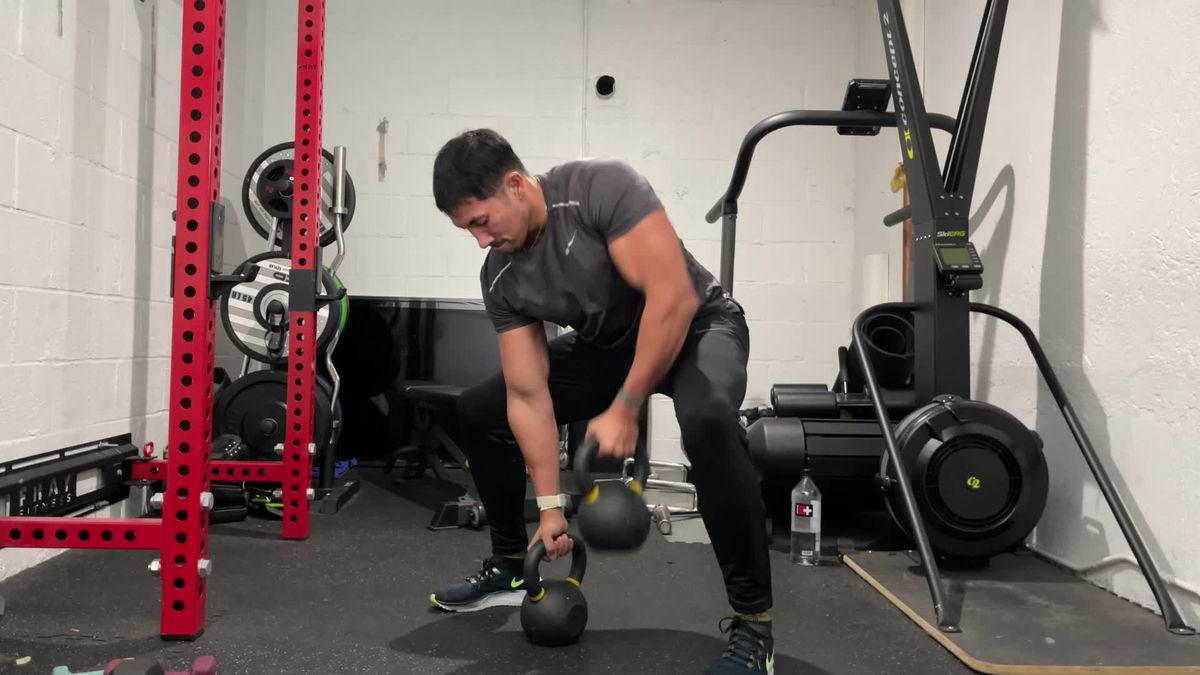
Gorilla Row
How to Do It:
- Stand with your feet just wider than shoulder-width apart, straddling a pair of kettlebells. Push your butt back and hinge forward at the waist, reaching down to grab the bell's handles in a neutral grip.
- Squeeze your upper back, abs, and glutes to create tension. Make sure your hips stay lower than your shoulders.
- Row one arm up to your chest, pressing the other weight into the floor. Maintain tension to keep your torso from shifting.
- Repeat with the other arm.
Fourth Exercise: Optional Anti-Rotary/Rotary/Bodyweight Movement
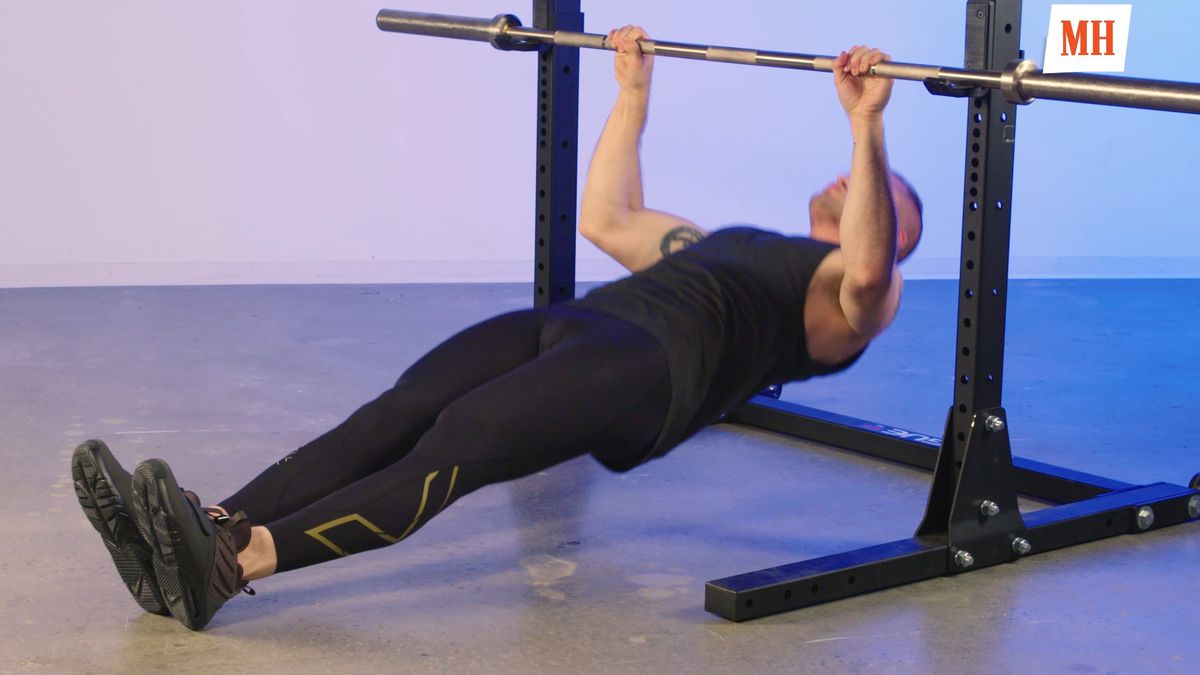
Eb says: This final move isn’t necessary, but it offers you a chance to do one key thing. You’re insuring that you train your pulling (back) muscles while also maintaining core tightness. It’s easy to escape that during heavy exercises, and, depending on your technique, even during pullups. But during a plank or inverted row, you can’t avoid it.
Examples: TRX Reach Row, Plank Row, Inverted Row
Sets and Reps: 2 to 3 sets
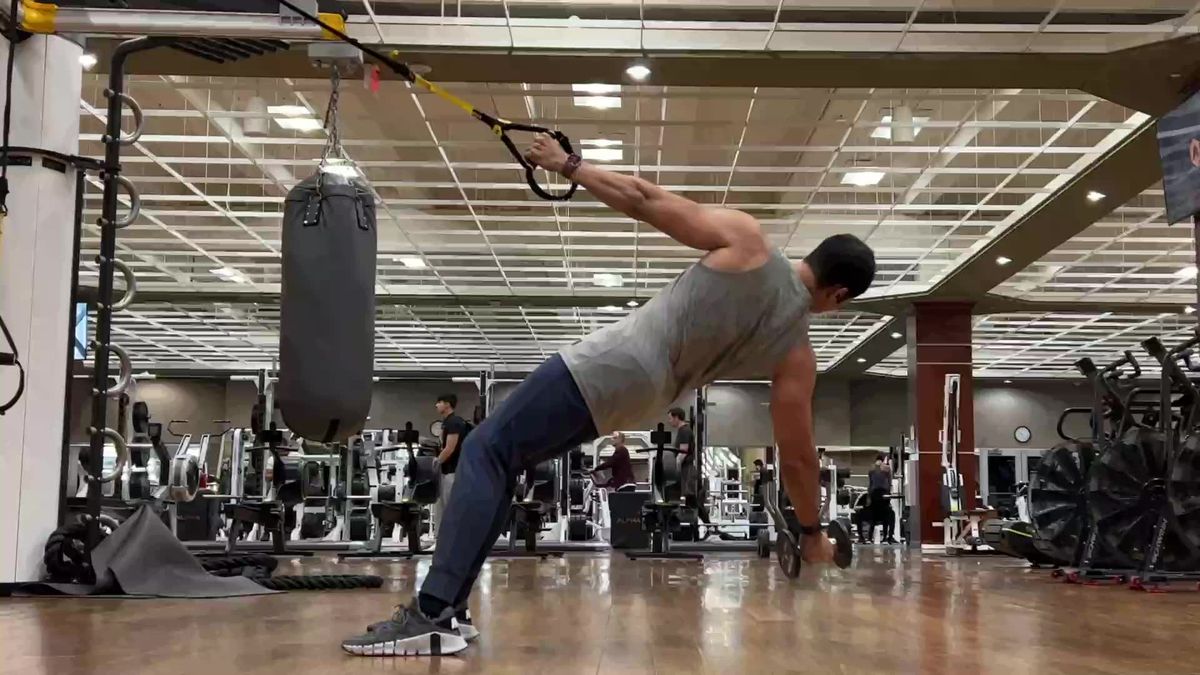
TRX Reach Row
How to Do It:
- Hold the TRX handles with both hands. Lean back and release your left hand, straightening your right arm to support your weight. Squeeze your abs and glutes, then reach your left arm forward so your torso is level.
- Extend your left arm behind you and reach for the floor to create a T shape.
- Pull yourself upward, rotating your chest toward the TRX handle, and reach your left arm as high up on the strap as you can. Hold this position for a count.
- Slowly let your right arm straighten, lowering your torso until your hips and shoulders are square.
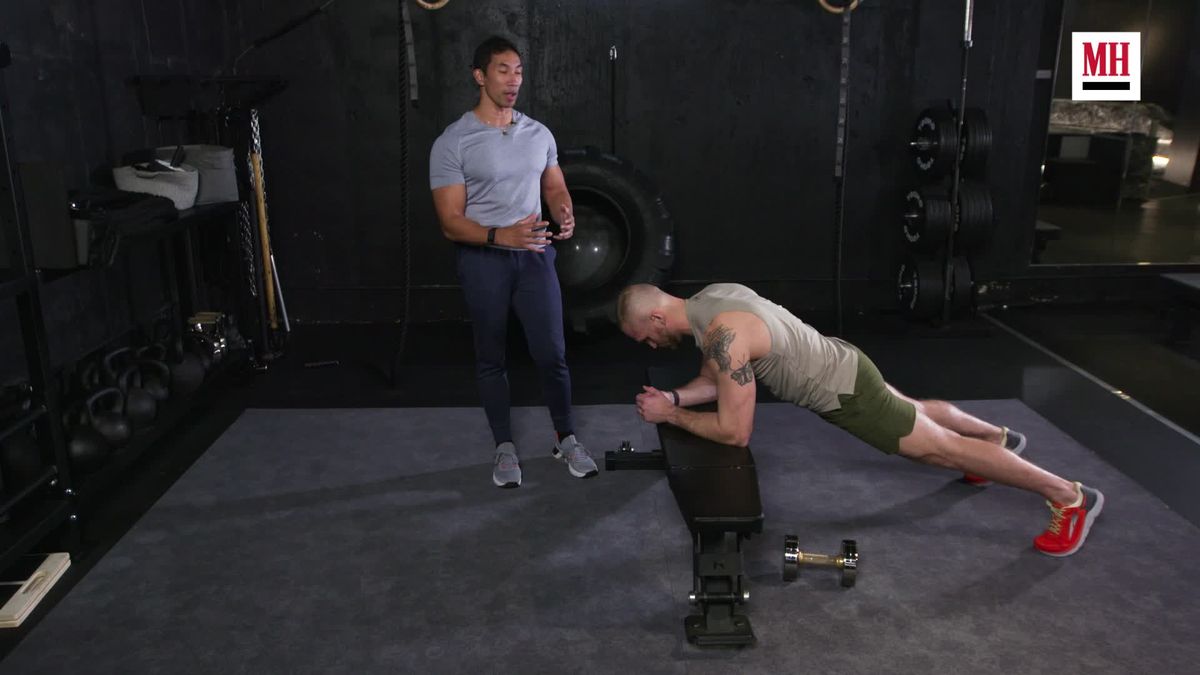
Plank Row
How to Do It:
- Get into a high plank position on a weight bench. Squeeze your shoulder blades, abs, and glutes to create full-body tension and fight anti-rotation.
- Rest one forearm on the bench, then grab a dumbbell in your other hand, hanging off the bench. Maintain tension to stay in position.
- Row the weight up to your chest, until your upper arm is parallel with your torso. Pause for a beat at the top.
- Lower the weight back down under control.
Inverted Row
How to Do It:
- Set up a barbell in a squat rack or lower a Smith machine into position. Get under the bar and set it just higher than you can reach from the floor.
- Grab the bar with an overhand grip, just wider than shoulder-width apart. Pull yourself up off the floor, squeezing your shoulder blades, abs, and glutes.
- Pull yourself up, with the mindset that you're pulling the bar to your chest. Pause and emphasize the squeeze at the top.
- Lower back down under control.
Fifth Exercise: Optimally-Loaded Biceps Movement
Eb says: As you did in the beginner template, you’ve already put your biceps to work during your back exercises. Now, you’ll finish them off with several moves that focus on elbow flexion. Much as you did with your back motions, start with a biceps exercise that’ll let you train heavy. That means a curl that has you standing (or sitting), with your upper arms next to your torso.
Examples: EZ Bar Curl, Dumbbell Curl, Barbell Curl
Sets and Reps: 3 sets of 12 to 15 reps
EZ Bar Curl
How to Do It:
- Use the same form cues as the barbell curl above. Consider adjusting your grip using the different positions offered by the EZ bar's design.
Dumbbell Curl
How to Do It:
- Use the same form cues as above.
Barbell Curl
How to Do It:
- Use the same form cues as above.
Sixth Exercise: Curl with Upper Arm Angle Change and/or Curl with Wrist Position Change
Eb says: Once you’ve hit that first motion, your next exercise should change how you’re hitting your biceps. If you choose to shift your palms to face each other as you curl, as you do in a hammer curl, you’ll recruit your brachialis, which assists your biceps in elbow flexion and is a key contributor to arm size. You can also shift your elbows in front of your torso (as you do in a preacher curl) or behind it (as you do with incline curls). Either variation will limit your ability to cheat by rocking at the shoulders, and will force your biceps to adjust to a new challenge.
Examples: Hammer Curl, Preacher Curl, Incline Curl
Sets and Reps: 2 to 3 sets of 12 to 15 reps
Hammer Curl
How to Do It:
- Stand holding a pair of dumbbells in each hand in a neutral grip.
- Squeeze your shoulder blades, abs, and glutes to create full-body tension.
- Moving only at the elbows, raise the weight up. Rather than supinating, as you would in a standard curl rep, keep the neutral grip throughout the movement.
- Pause briefly at the top to emphasize the biceps squeeze.
- Lower the weight down with control.
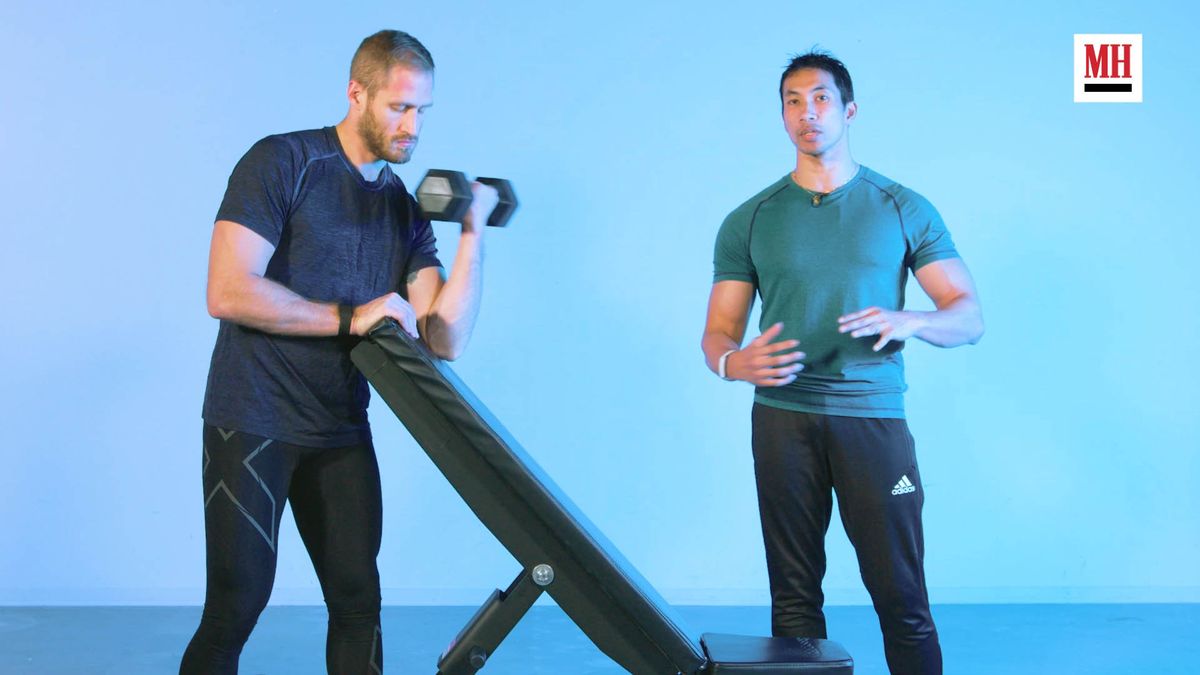
Preacher Curl
How to Do It:
- Use a preacher curl bench or machine for this move. If you don't have one available, use an adjustable bench at a high angle. Set up so that your armpit hugs the bench. This helps to get into that upper arm angle shift.
- Get into a position so that you can create full-body tension, squeezing your shoulder blades, abs, and glutes. Grab your weight, keeping your wrist in position and your forearm just off the bench.
- Curl the weight up, stopping before your forearm is parallel to the floor. Emphasize the biceps squeeze at the top.
- Lower back down, stopping short of resting your forearm on the bench so that you can maintain constant tension.
Incline Curl
How to Do It:
- Start by setting an adjustable bench to a 60 degree angle. Sit in the bench, keeping your lower back flush to the pad and your butt on the seat.
- Hold a pair of dumbbells in each hand, allowing the weight to hang. Your elbows should be behind your torso, in line with your shoulders.
- Curl the weight up, moving only at your elbows. Control the tempo and feel your biceps working. Make sure that you don't use momentum to lift the weight or shift your shoulders or elbows forward.
- Lower the weight down under control.
Seventh Exercise: Optional Finisher Curl
Eb says: Once you’ve hit your biceps from multiple angles and with load, you can finish by focusing on pump, with a lighter-weight exercise that allows you to maintain strict form. This isn’t necessary, but it is often a fun way to finish a workout.
Examples: Double Biceps Curl Drop Set
Reps and Sets: 1 to 2 sets
Double Biceps Curl Drop Set
How to Do It:
You'll need a pair of light dumbbells to perform this finisher, which demands that you pile up a high volume of reps in a short period. You'll perform three different curl variations—the standard biceps curl, hammer curl, and a parallel pause curl—to burn out the muscle for a crushing pump.
- Start by performing as many standard dumbbell curls as you can with perfect form.
- Once you start to fatigue, switch to a neutral grip and hammer curls. Do as many perfect reps as you can here.
- After you can't do any more hammer curls, shift into a parallel pause curl hold (holding the weights at a 90 degree elbow position, parallel with the floor). Hold the position for as long as you can (aim for five seconds, minimum).
- Rest for a minute, then repeat for three total rounds.
Brett Williams, a fitness editor at Men's Health, is a NASM-CPT certified trainer and former pro football player and tech reporter who splits his workout time between strength and conditioning training, martial arts, and running. You can find his work elsewhere at Mashable, Thrillist, and other outlets.
Ebenezer Samuel, C.S.C.S., is the fitness director of Men's Health and a certified trainer with more than 10 years of training experience. He's logged training time with NFL athletes and track athletes and his current training regimen includes weight training, HIIT conditioning, and yoga. Before joining Men's Health in 2017, he served as a sports columnist and tech columnist for the New York Daily News.
